Hi…again!
It’s been a whopping eight months since I last checked out the blog-o-world. After doing a short stint at www.crazyagnus.com, then somehow resetting/forgetting/losing my password to blog, I had pretty much given up blogging.
But, today, here is sunny side Ohio the breeze is blowing and 70-degree temps have found their way to our front doors. I bought my first pot of mums for the season yesterday and the itch to again blog just hit me. So, here it goes.
Let’s start with an update:
1. Bought a house, adore it. Dumping money into it, sweating alot while working on it and in general every bum-day tee and yoga pant I own now has paint on it. 
2. Still hanging out in grad school land…April 27, 2013 CANNOT come ANY sooner…for all you suffering and even not suffering through it, you know what I mean. (I should actually be writing a paper on JEDDs right now…) (If you don’t know what a JEDD is, don’t fret, you aren’t missing much.)
3. NEW JOB! I spend my days hanging out at a fabulous children’s musuem, fundraising to my heart’s content.. For a gal that’s never really been a big kid-person, this job ROCKS!
Uhh…that’s it. Sad? No? Yes? Probably. I promise I am more exciting than my list of three leads you to believe.
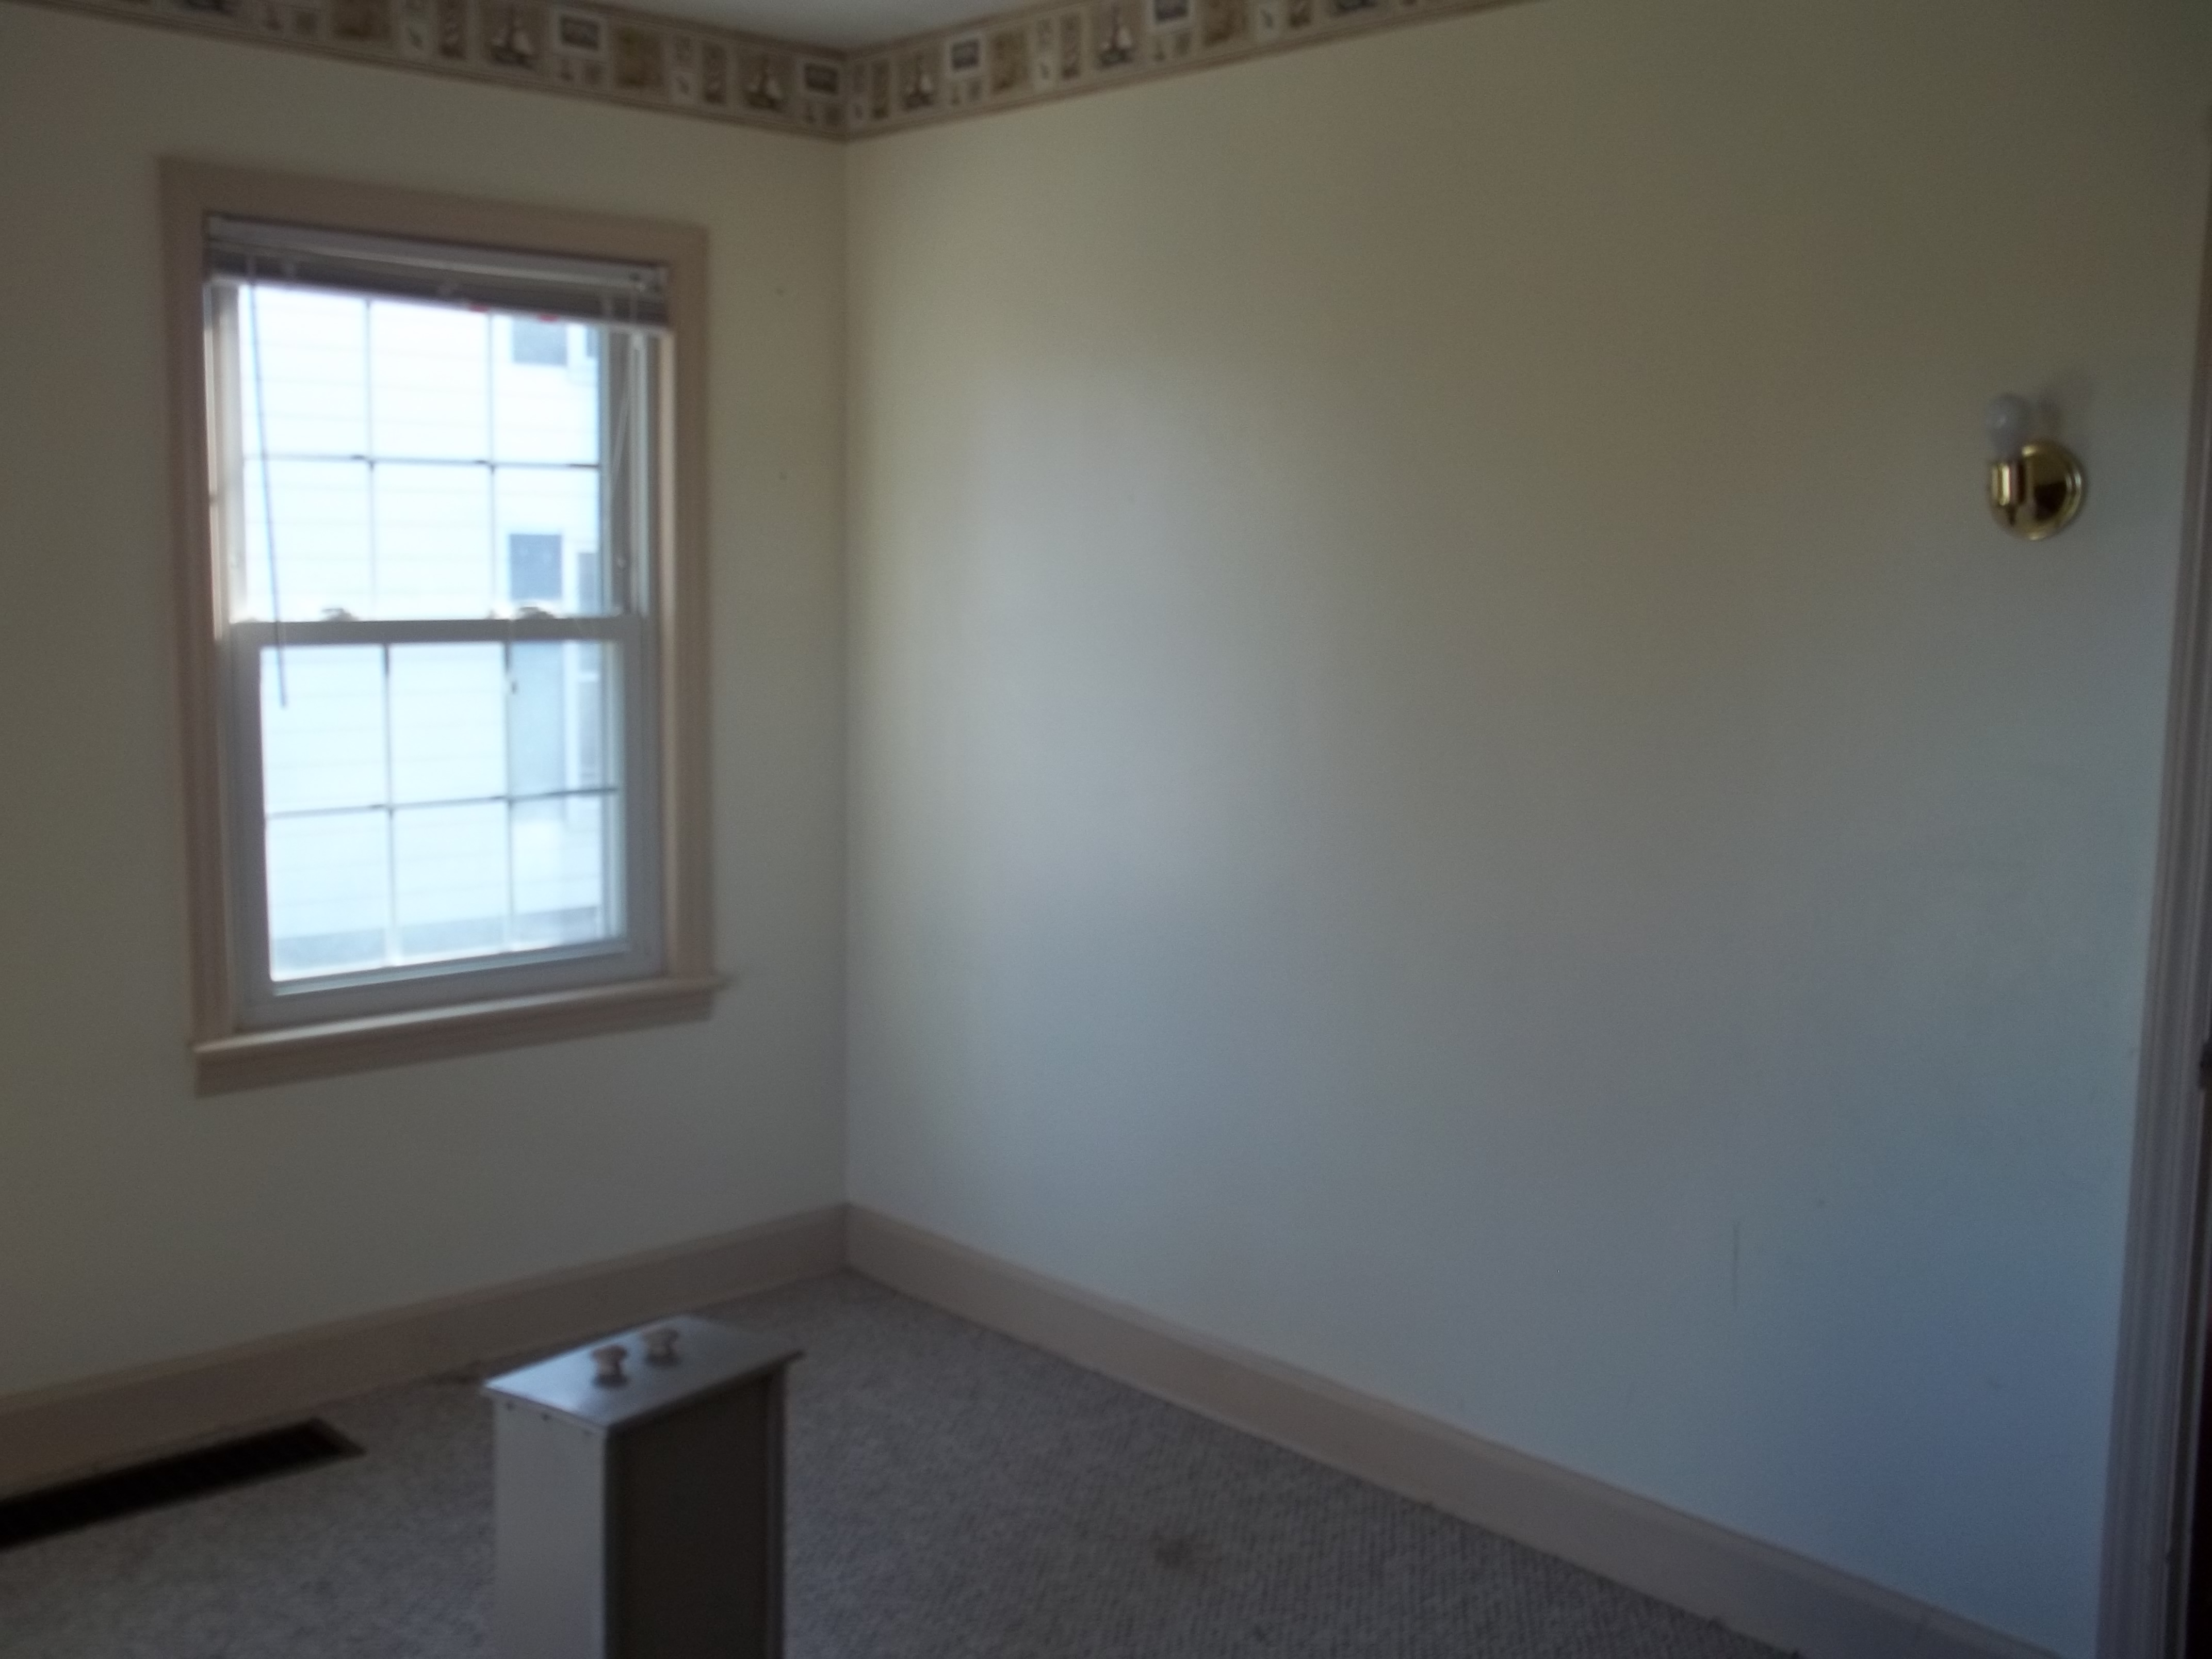
Anyways, today I wanted to share a few before pictures of the house…we’ve been here since Friday January 13th. I am starting to think that Friday the 13ths are good luck…we’ve had so many this year, no? It’s all a work in progress and I promise I will try to get some blogs up with newer and updated pictures as we go along!
Peace for now, hotdogs!

Front of house: Day one

Day One: The bathroom needed some serious TLC. Holes in the wall=fabulous.

Day One: Living Room. Found out that there were THREE boarders in nearly each room.

Day One: Kitchen. That is all I have to say about that!!!

Day One: Master Bedroom/Loft.

Day One: Office and Spare Bedroom. Vommie carpet.
xo,
See you soon!
Crazy A!
JKP Thrift-ista.
Always in the mood to thrift for good finds I did a power shop stop today at Platos Closet and was introduced to JPK Paris 75 Handbags. I scored my shiny new friend for a mere $18 (BIG spendin’ for a thrifter like myself…)! Man, I LOVE a good find!!!
Here is the JPK Handbag if you would like to check out these funky bags!


xo,

YEE HAW!
This season I got the Mr Mister in on the woodworkings! The rocking horse was already put together by his grandfather, so we got an easy out! After a little sanding, paint and quite a few mishaps this was the end result:

Big thanks to Emilee for this image as I forgot to take any, oops!
Ride ’em cowboy! Ha ha ha!
So, how about you, how did you spend your holidays?
xo,
25 Days of Jesus
Write a name for Jesus on 25 ornaments and hang one on the tree for each day in December!

Source: iammommahearmeroar.blogspot.com via Amanda on Pinterest
Christmas Time is Finally Here!

Welcome Little Cedar Christmas Tree!
New Social Media Trends of 2012
Well well well…looks like Pintrest has been named #7 in the new social media trends for 2012! (See article here) WOO! In honor of this prestigious award I have compiled a few of my very favorites all via Pintrest!


Source: party.tipjunkie.com via Lee on Pinterest

Source: ezrapoundcake.com via Lee on Pinterest

Source: studiogblog.com via Lee on Pinterest
Hey Hey Hey!

To make a really long story short, it looks like the sign-in button on www.crazyagnus.com has disappeared? And I have given up on trying to get it back…so looks like the WordPress blog is back rockin’ and rollin’!
To make up for our serious lack of blogging on both here and CA.com, I have decided I will share the first part of my new journey here first! I hope to use this new “project”, which I have lovingly deemed Albert, for some major blogging inspiration. Anyways, here goes nothin’…meet Albert:

He is a 71 year old home…and a small money pit 🙂
Here are a few of the first “before” shots:


The vents are by far my favorite part of the home…they remind me of giant church doors! The little guy needs some work, but with a some sweat, tears and hopefully no blood (or I will be passing out…) he will be good as new! PLUS it will give me some good stuff to blog about 🙂
xo ❤ Lee at Crazy A!
WE ARE MOVING!
Check it out, pretty please??? We are still in the “tweaking” stage, but don’t want to lose you all, our crazy loyal friends!
While you’re at it, you should probably “LIKE” us on Facebook too! You can find the link at our new website WWW.CRAZYAGNUS.COM (Shameless plug, again.) Or you can search us on Facebook under Crazy Agnus!
Hope to hear from you soon!
Love,
A&L @ Crazy Agnus
DIY: Restoring a Cast Iron Skillet.
I have been on the hunt for a cast iron skillet for about two months now…problem is I didn’t want to pay BIG BUCKS for one. So you can imagine my excitement when I found one for $8 Saturday. (It was the most expensive purchase of my $50 thrifting trip! WOO HOO!) Problem was, it was covered in rust and all seasoning that comes with an old cast iron skillet was gone.
Determined to fix it I did a little bit of research…and now I present you with a quick and easy DIY project. Big thanks to the Mr. Mister for being my oh-so-fashionable model (ha ha ha…)!
HOW TO RE-SEASON AND DE-RUST AN OLD CAST IRON SKILLET
1. It all starts with a skillet that looks something like this: 
…for a closer look…

2. Put about 4-5 heaping tablespoons of salt into the pan along with an equal amount of vegetable oil

4. Using a paper towel spread the salt and oil mixture throughout the entire inside of the pan taking care to cover every part of the inside of the pan

5. Let the pan sit and soak in the mixture (we let ours sit for about five minutes). In the meantime let the oven heat up to 250 degrees F
6. Next wash the pan with hot water and soap, using your hands or a paper towel. Be sure to not use a brush or towel

7. After throughly drying the skillet…

(I promise this face was staged 🙂 ha ha)
8. Coat the inside of the skillet entirely with a thin coat of vegetable oil

9. After your oven has heated, place the skillet in the oven for half an hour at 250 degrees. After half an hour take the skillet out (it will be hottttttt, whew!) and re-coat the pan again with a thin layer of vegetable oil
10. Once the skillet has heated let it cool throughly and sop up extra oil with a paper towel
To ensure that your pan stays in tip-top shape be sure to not clean it with soap after each use. Typically you can get away with just rinsing your skillet well with hot water. If there are still leftover food on the skillet you can repeat this process with salt and oil again. Always dry the pan completely (over heat if possible) before storing it!
We now have an awesome (and cheap!) cast iron skillet perfect for camping, cooking on the grill and even for use on a standard stove top!

Pretty In Pink.

via Bare Foot Floor

via CasaSugar

via Pfieffer Homes

via This Next

via Broke Ass Bride
